- View all help sheets
Help by technology
- Adobe Creative Cloud
- Anthology Portfolio
- Bookings with Me
- Campus Cable TV
- Canvas
- Cat Card
- Classroom Technology
- File Storage
- Firefly
- Follett Discover
- Get Connected (Internet)
- Kaltura (Video Management)
- M365 (Office 365)
- Make Me Admin
- Multifactor Authentication (Duo)
- Office Technology
- OneDrive
- Online Student Resources
- Outlook Email
- PaperCut (Printing)
- Rave (Campus Text Alerts)
- SANS Security Training
- TAO
- Teams
- Turnitin
- Valt (Classroom Video Recording)
- Wildcat360
- WildcatsOnline
- WSC Password
- Zoom (Video Conferencing)
Contact Service Center
Can't find what you're looking for in our help sheets?
Click: https://www.wsc.edu/service-center
Call: (402) 375-7107
Visit: U.S. Conn Library 1st Floor
Adobe Creative Cloud Install - Windows
1. Go to the Adobe Creative Cloud Install to begin the install process.
Note: Steps 2 and 3 are only for Campus Computers
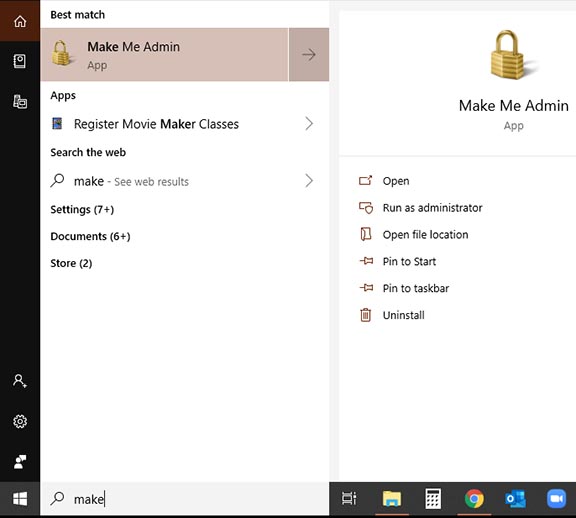
2. Search for Make Me Admin app and open it.
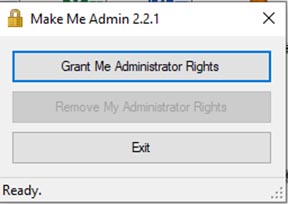
3. Click Grant Me Admin Rights.
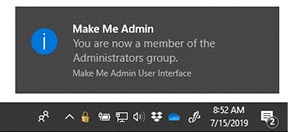
4. Double-click the installcc file to begin the install process.

5. A black Command window will appear and begin running a Command prompt.
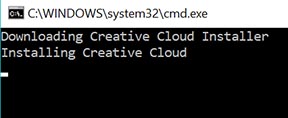
Note: It may take up to 30 seconds before the Command window appears. Please be patient.
6. An Adobe Creative Cloud Install window will be appear asking you to sign in. Sign in with your WSC username and password.
7. Click the Apps tab at the top and click the Install box next to the app you want to install.
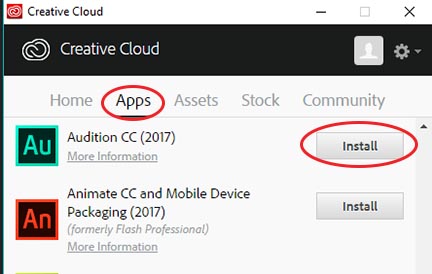
Note: You can only install one app at a time.
8. Once you have installed all of the apps, select the X to close out of the Adobe Creative Cloud.
9. Your apps will be available to open and use individually or you can open the app in the Adobe Creative Cloud.
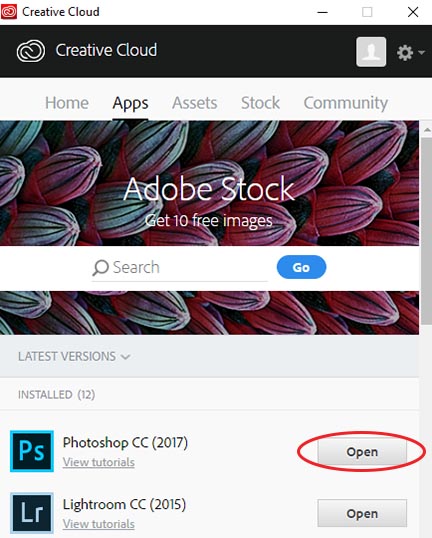
Note: You will receive notifications from the Adobe Creative Cloud when there are updates for the apps you have installed. You will have to login into Adobe Creative Cloud to install the updates.
Last Updated: 9/11/2019