- View all help sheets
Help by technology
- Adobe Creative Cloud
- Anthology Portfolio
- Bookings with Me
- Campus Cable TV
- Canvas
- Cat Card
- Classroom Technology
- File Storage
- Firefly
- Follett Discover
- Get Connected (Internet)
- Kaltura (Video Management)
- M365 (Office 365)
- Make Me Admin
- Multifactor Authentication (Duo)
- Office Technology
- OneDrive
- Online Student Resources
- Outlook Email
- PaperCut (Printing)
- Rave (Campus Text Alerts)
- SANS Security Training
- TAO
- Teams
- Turnitin
- Valt (Classroom Video Recording)
- Wildcat360
- WildcatsOnline
- WSC Password
- Zoom (Video Conferencing)
Contact Service Center
Can't find what you're looking for in our help sheets?
Click: https://www.wsc.edu/service-center
Call: (402) 375-7107
Visit: U.S. Conn Library 1st Floor
Copying Using PaperCut
with Sharp BW and Color Copiers
1. Login to the copier by tapping your Cat Card or by typing in your WSC username and password.
Note: These copiers have slide-out keyboards below the screen for convenience.

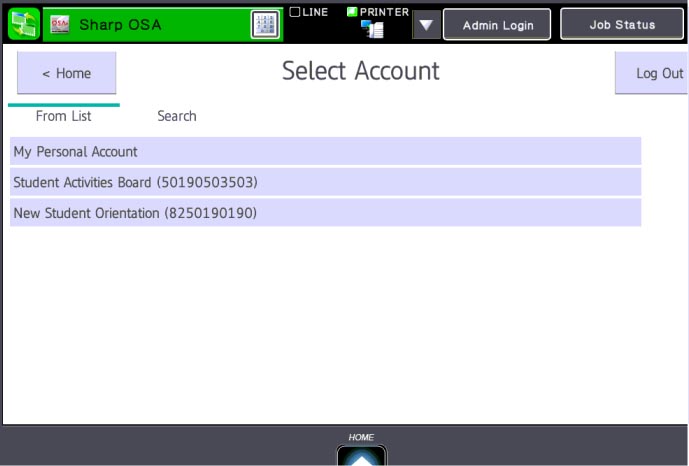
2. Select which account you want to charge your copies to by tapping the corresponding budget code on the screen.
Note: For students this will be "My Personal Account"; for staff it will vary by department.
3. Tap the Copy button to open the copying menu.
4. Tap the No of copies box to enter the number of copies you want to print. Tap the corresponding number on the keypad.
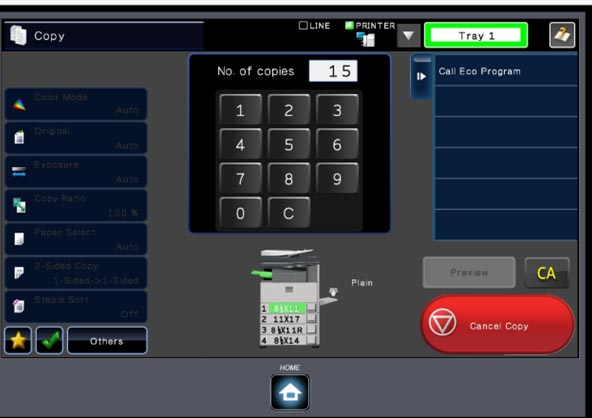
5. Set your copy options from the choices below.
Note: To cancel your copy job, go back to the copy menu and press the red Cancel Copy button in the bottom right corner.
6. To start printing your copies, press the b/w or color Start button.
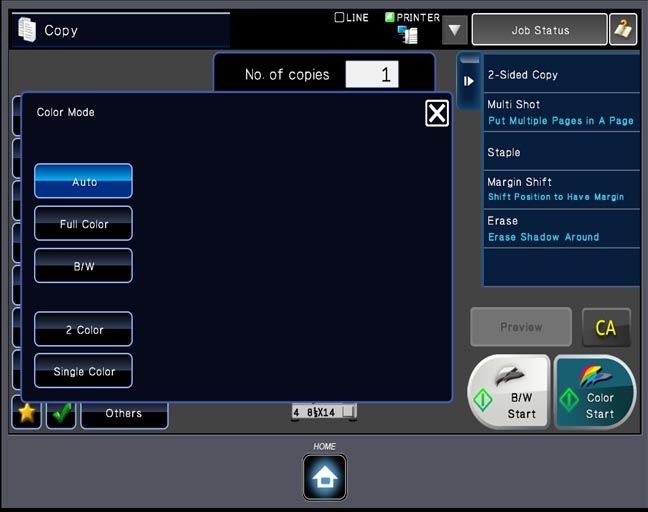
Color Mode:
-
The Color Mode should be set you Auto as the default. The machine will look at each page and determine if there is color on that page. This way the machine charges correctly.
-
The Single color gives you the option to change all of your text to one color.
-
The 2 Color uses a single color and black to give you the photo quality look.
Original:
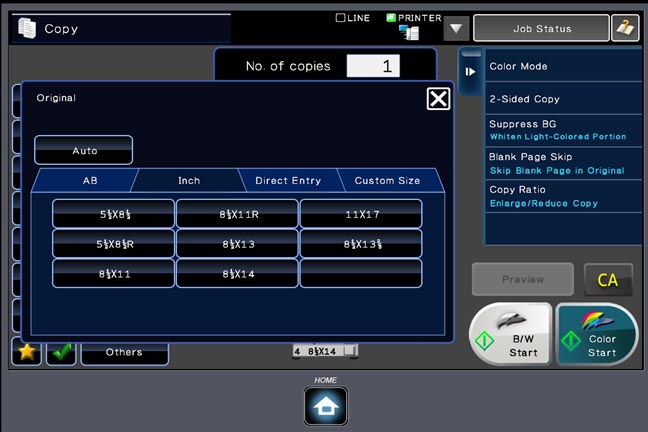
The machine will automatically detect the original size of your document if it is a standard size paper. However, if you are making copies of an odd size paper (i.e. Newspaper articles, Clipart, etc). You can go in the Direct Entry in the Original Tab and change the area that the machine scans.This ensures that you are going to get your full document scanned.
Exposure/Original Type:
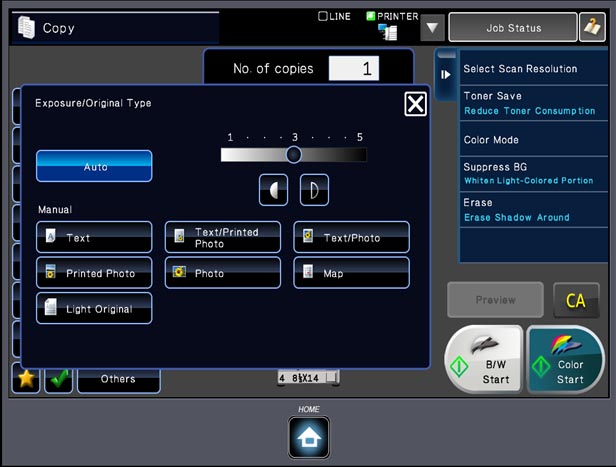
The Exposure Tab gives you the option to lighten or darken any of your documents.You can select what you are making copies of and adjust the exposure accordingly.
Copy Ratio :
-
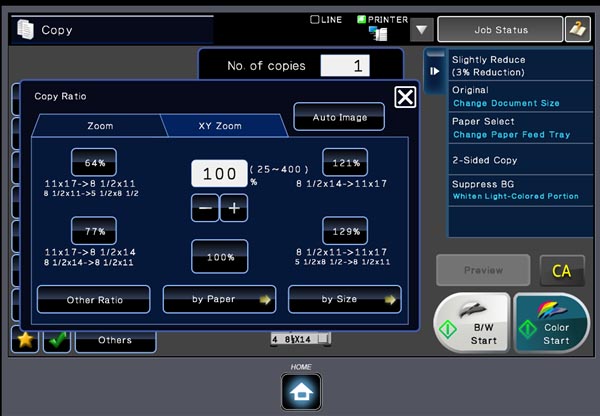
In the Copy Ratio Tab you can do all of your Enlarging and Reducing.
-
You can also use the Auto Image Tab to have the machine Automatically change the size of one smaller original to fit on a larger size paper or vice versa.
-
The XY Zoom feature also allows you to change the percentage of reduction or enlargement according to the X and/or Y axis on the glass.
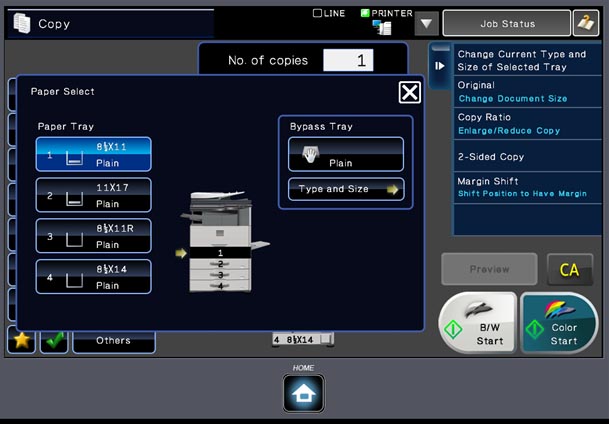
Paper Select:
-
The Paper Select Tab allows you to choose which Paper Tray you are pulling from.
-
If you are using any type of specialty paper you will want to pull that from the Bypass Tray. When doing this touch on the tab below the little hand. This will allow you to tell the machine what type of paper you are using. In turn this tells the machine to heat up or cool down the fusing section so the toner will fuse to the paper properly.
Staple Sort:
-
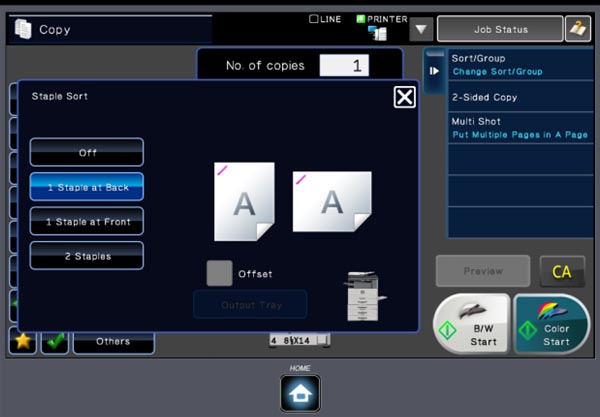
In the Staple Sort Tab you can choose how you want your copies output.
-
You can choose the Sort option, which will put all of your documents in numerical order.
-
You can use the Staple Sort button to have the machine staple your copies.
-
Or you can choose the Group option, which puts all your pages in separate groups.
Others:
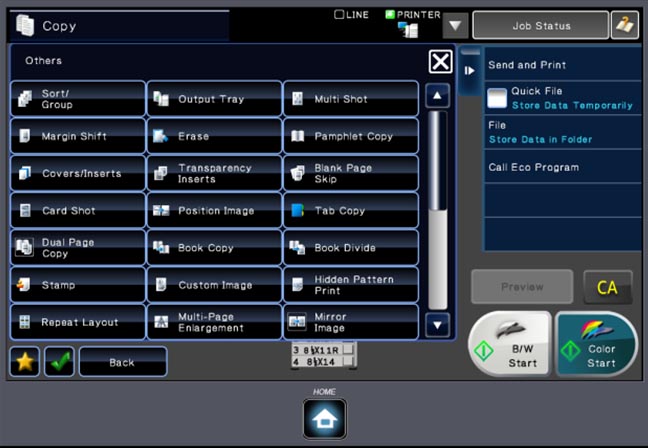
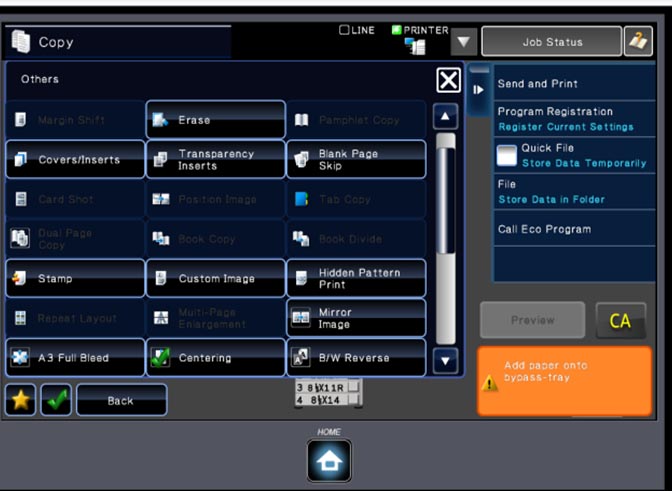
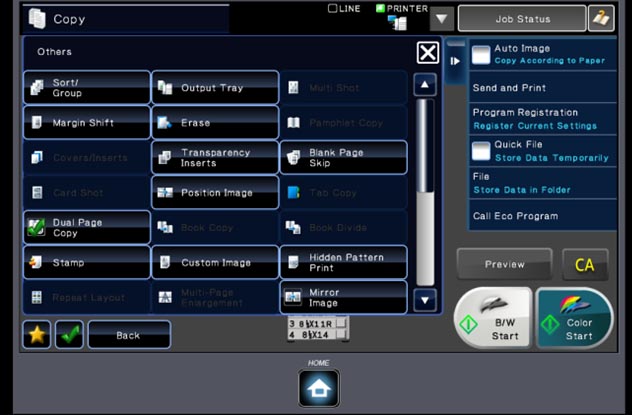
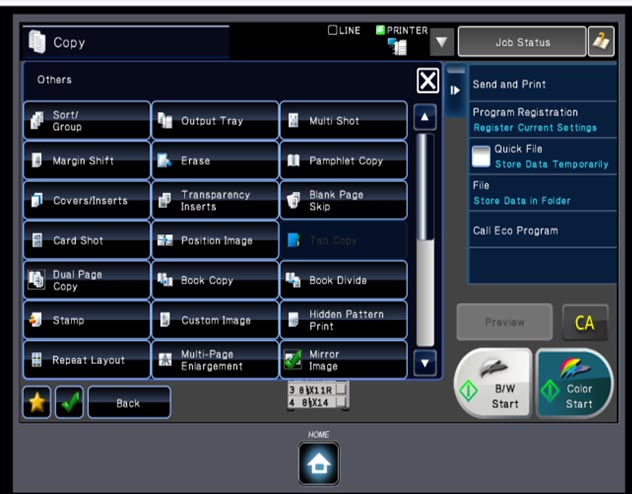
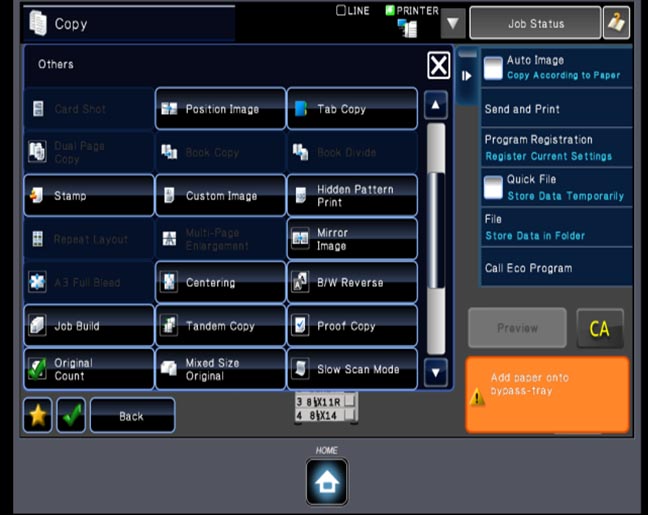
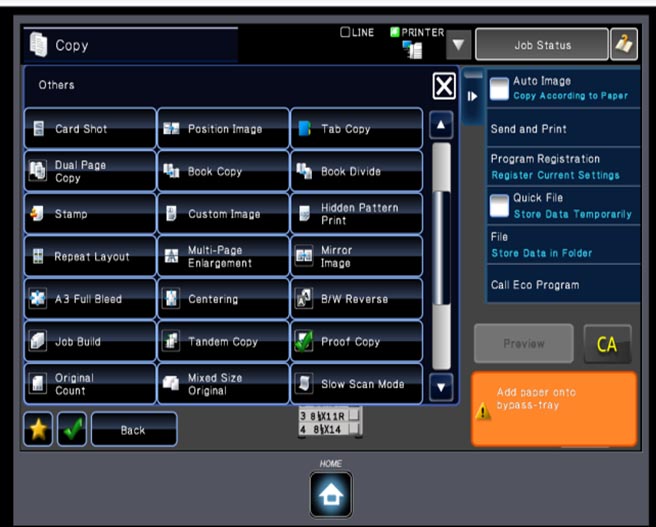
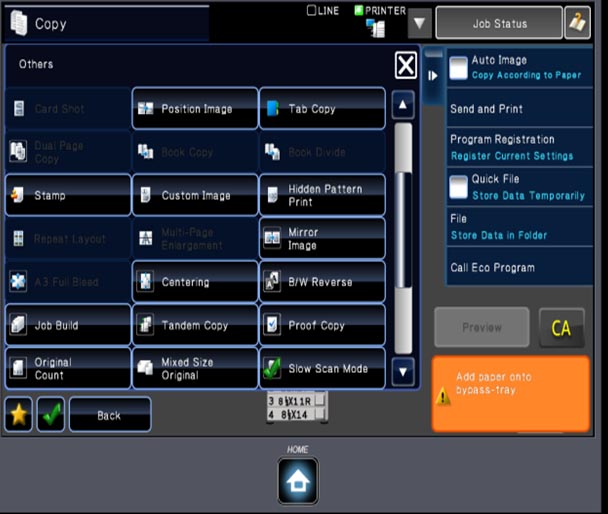
This is the first screen of the Others Tab. From here you can select as many options as you need to complete your desired job.
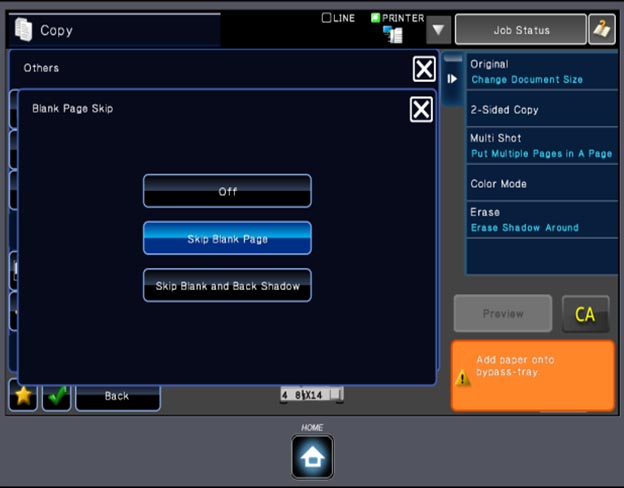
Blank Page Skip:
The Blank Page Skip simply skips any Blank Pages as the machine scans in the original for copying.
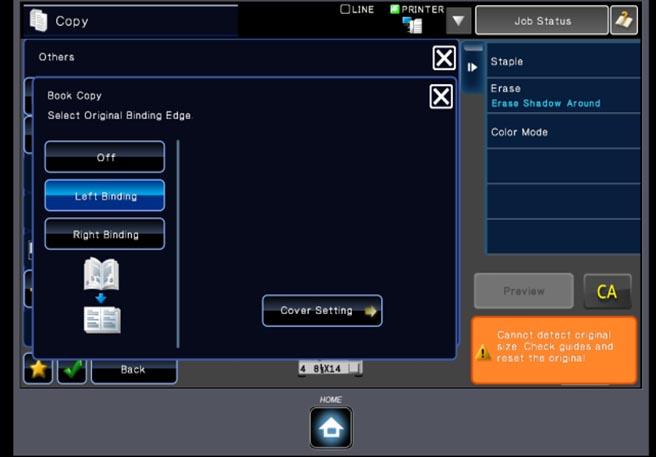
Book Copy:
The Book Copy tab allows you to make copies out of any bound material and have them laid out in a convenient pamphlet or book.
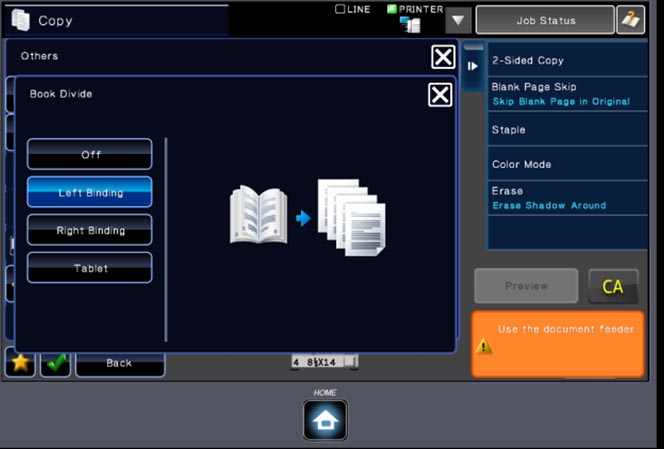
Book Divide:
The Book Divide option allows you to copy from a book format using the Document Feeder. The copier then transforms the book format into single 8.5x11 sized pages.
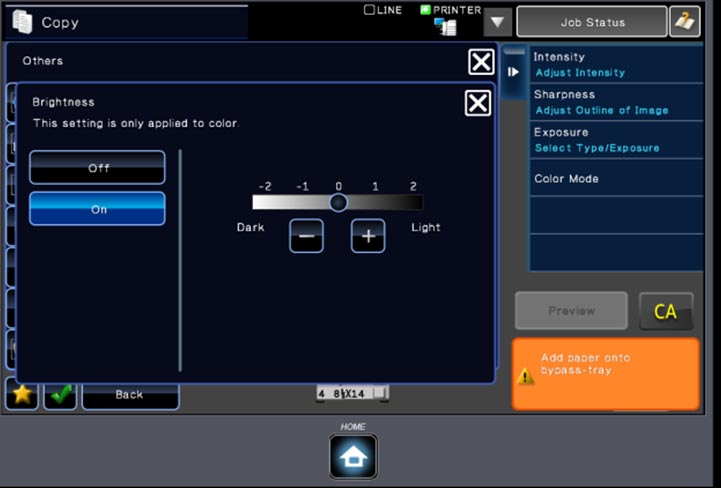
Brightness:
Within the Brightness option you can brighten or darken your copies.
Centering:
Center all of your documents on the standard size papers.
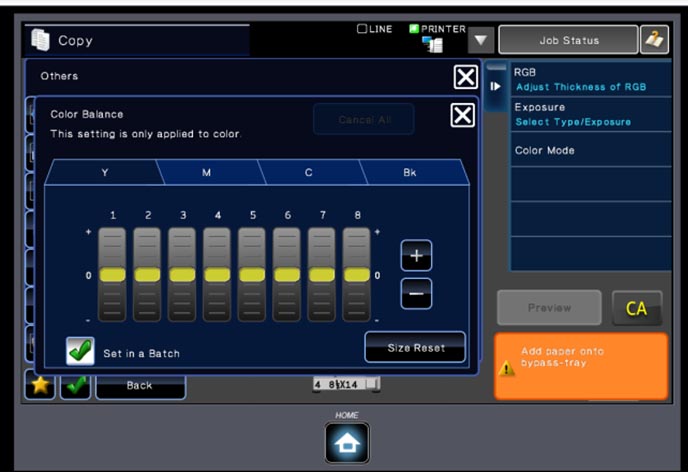
Color Balance:
The Color Balance Adjusts the color, tone, or density of color copies.
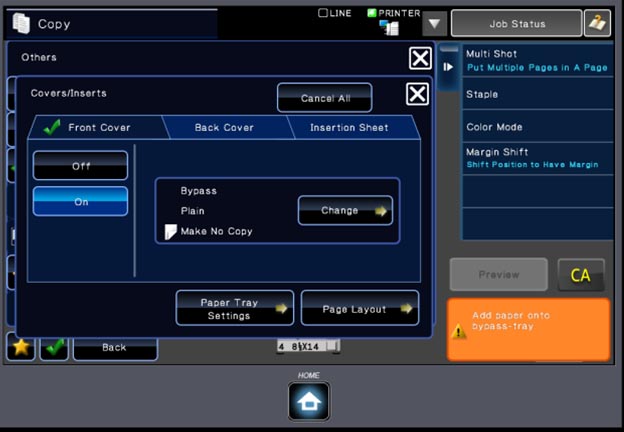
Covers/Inserts:
-
With the Covers/Inserts Tab you can have a front cover or back cover with any of your documents. Simply choose if you want a Front Cover, Back Cover, and/or an Insertion Sheet, tell the machine what type of paper you want it printed on and how many sides it is.
-
You can also add Insert sheets to any of your documents. Follow the same steps as the cover settings.
-
Once you have the inserts selected you can use the Insertion Settings tab to choose which page numbers your inserts are on.
Dual Page Copy:
Using the Dual Page Copy Tab you can lay a large document on the glass (i.e. a book) and get the two pages that are side by side on two separate pieces of 8.5x11 paper.
Erase:
-
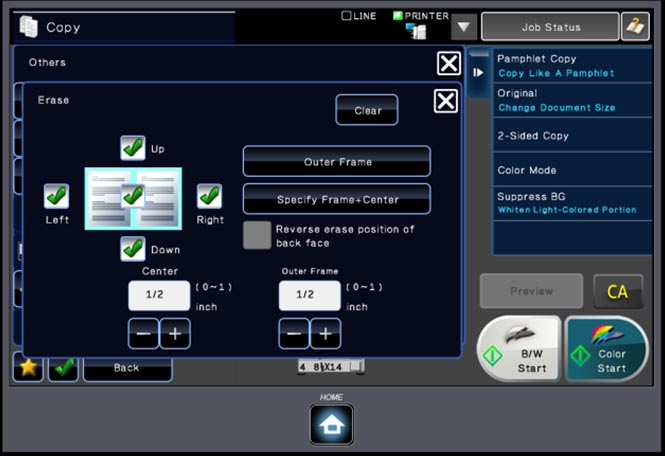
The Erase Tab allows you to erase the Edge, The Center, or the Edge and Center of your document.
-
This comes in handy if your document does not lie completely flat on the glass and the machine picks up the dead spaces and prints extra toner in those areas.
Intensity:
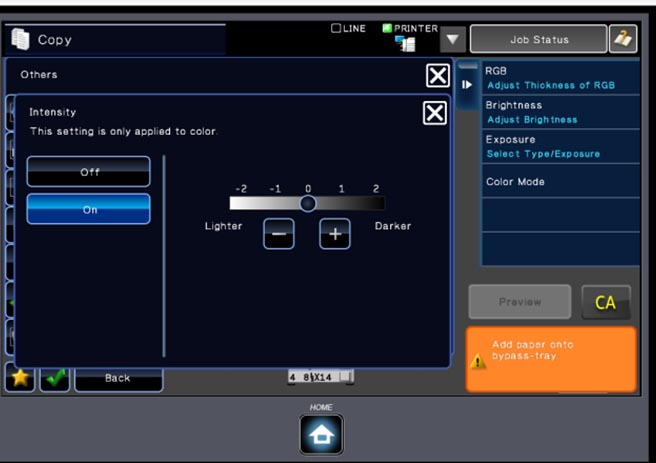
The Intensity option makes copies more vivid or dull.
Job Build:
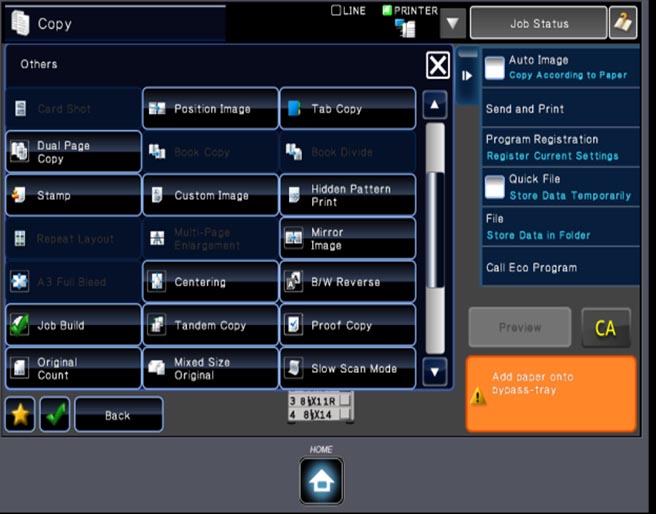
In the Job Build option you can scan several documents at once and have the machine output them as a single job.
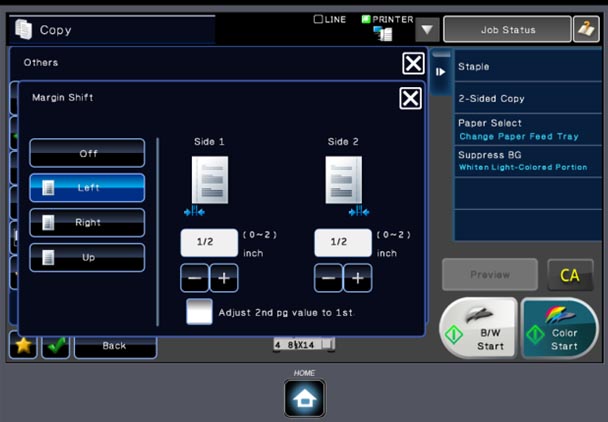
Margin Shift:
-
The Margin Shift Tab gives you the ability to shift your left hand margin to the right, so if you are punching holes in your document you are not punching holes through any of your information.
-
You can also adjust your right margin to the left and you can move down from the top as well.
Mirror Image:
The Mirror Image tab gives you a mirrored image of your original.
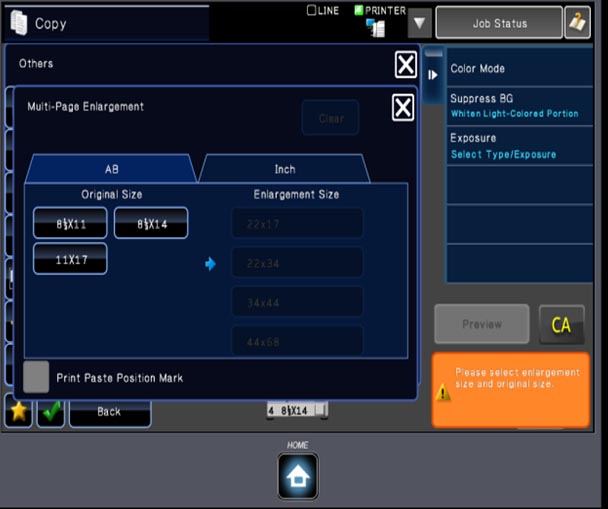
Multi-Page Enlargement:
The Multi-Page Enlargment tab makes poster size documents from your smaller originals.
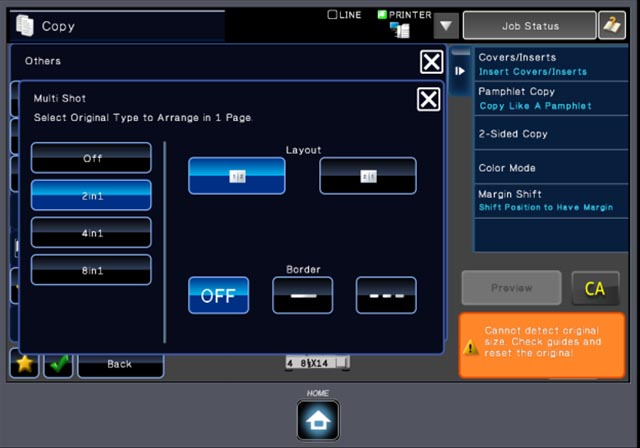
Multi Shot:
-
In the Multi Shot tab you can take two or four or eight originals and have them reduced down to fit on one sheet of paper.
-
You can also choose the layout and choose to have a border around the finished copy.
Original Count:
The Original Count Tab allows you to have the machine count the number of pages in your original document.
Proof Copy:
The Proof Copy Tab allows you to proof one copy of your document before you run the rest of your copy job.
Scan Resolution:
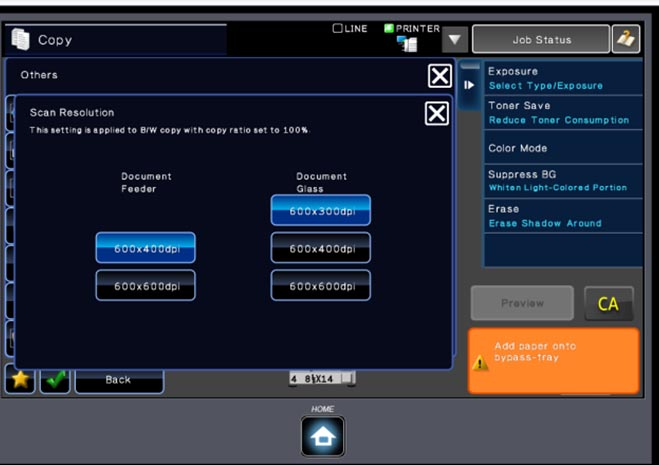
This option simply lets you adjust the scan resolution from the Document Feeder or the Document Glass.
Saddle Stitching:
-
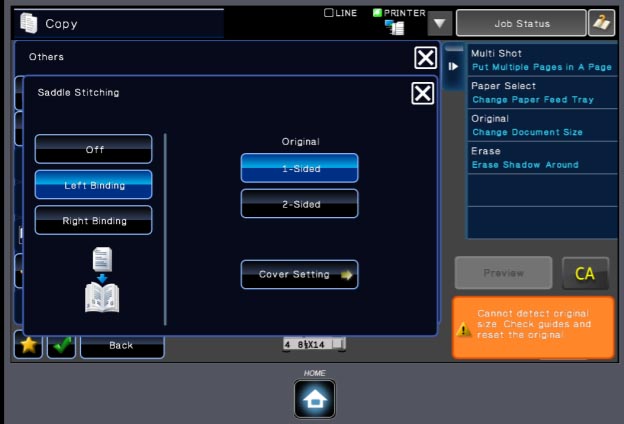
The Saddle Stitching Tab allows you to take your 8.5x11 sized documents and change them into a small book.
-
You tell the machine your originals are 1 or 2-sided and which way you would like to bind that document.
-
You can also use the Cover Setting option to pull a heavier paper or different color paper from the bypass tray or one of the other trays on the machine.
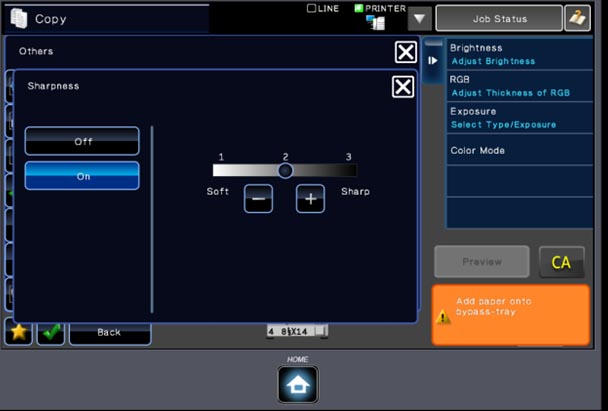
Sharpness:
This option simply lets you adjust the scan resolution from the Document Feeder or the Document Glass.
Slow Scan Mode:
Slow Scan Mode slows down the scan head and rollers so your thin documents do not get ruined.
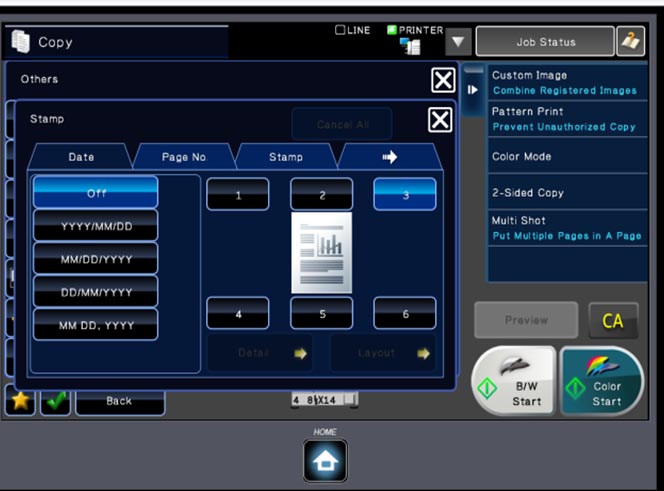
Stamp:
In the Stamp Mode you have the option in six different spaces on your copy to have anything from the days date, to a stamp that says "do not copy," page numbering, and even a text entry option so you can type what you want. To accomplish this just highlight the section you want and the option and enter the information accordingly.
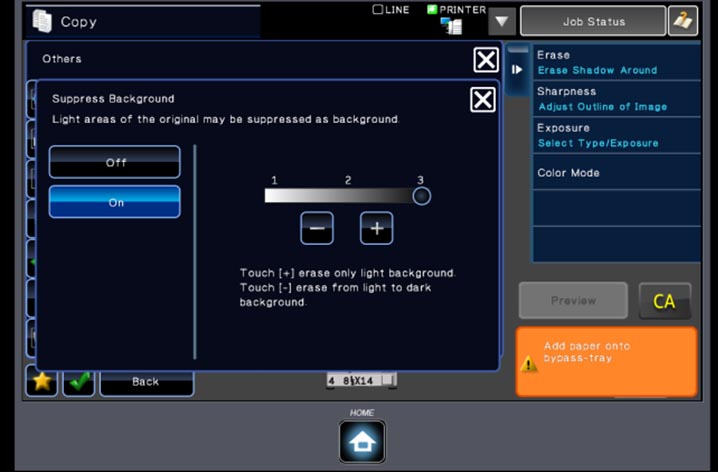
Suppress Background:
The Suppress Background suppresses background of lighter images.
To start printing your copies, press the b/w or color Start button or add paper onto bypass-tray if printing from the bypass-tray.
Please contact the Campus Service Center at 402-375-7107 or visit us in the library if you are still having problems.
Last Updated: 9/11/2019
